When potential buyers or renters are looking for a place to call home, they are judging the house by the photos presented online. If the photos are dark, hazy, or just unwelcoming, they quickly move along to the next house. In this week’s blog post, we’re going to cover how to photograph a house so people will want to live there.
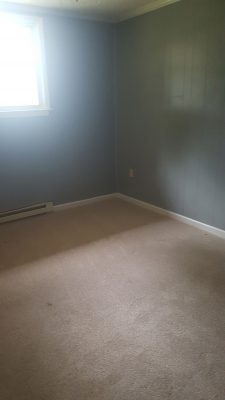
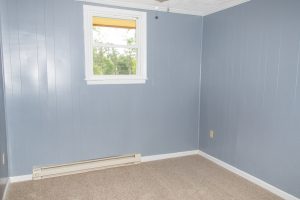
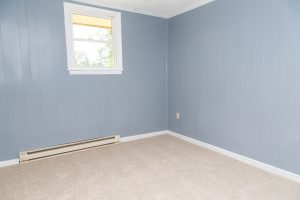
Maximize the floor space
Start by using a wide angle lens and a tripod. I use a 24-105mm lens at the 24mm focal length. You’ll want a chest-height photo of each room to minimize the distortion. By using a tripod, you’ll get consistent results throughout the whole house.
Stand in the corner and photograph towards the opposite corner. You want to skim the molding on the ceiling so the floor takes up as much of the photo as possible. This is going to help the room look larger.
Pay attention to the little things
Because I photograph empty homes, they have usually just been cleaned but may have some cleaning supplies left on the counter. Put these items out of sight. Other little things to watch out for include:
- Putting the toilet lid down
- Fixing crooked blinds
- Closing the shower curtain
- Staying out of mirror reflections
Know when to use natural light and when to use flash
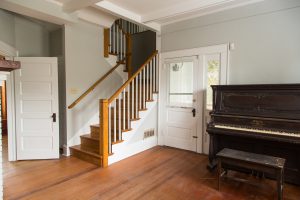
For homes with lots of character and windows, it’s best to use a tripod and slow shutter speed to allow natural light and shadows to show off the character of the home. However, natural light will highlight imperfections. In cases of dark homes with imperfections such as less than professional paint jobs, it’ll be better to use a flash to fill in shadows. If you have a DSLR with an external flash, point your flash straight up at the ceiling and allow the light to bounce around the room.
Use Adobe Lightroom to make your images pop
Back in the office, I use Adobe Lightroom to do finishing touches on the photos. If I didn’t use my gray card for a custom white balance, my “white balance hack” is to use the dropper to select the white molding. This takes a little trial and error because white molding in the shade has a different color temperature than white molding in direct sunlight. It is a matter of eyeballing it until it looks right so I definitely suggest setting a custom white balance in camera when possible.
You’ll also be able to use the straighten tool (labeled: Angle) to fix any photos that might seem tilted.
Because of the wide angle lens, there may be noticeable distortion to your photos. A great tool for correcting this is “Enable Profile Corrections” under Lens Corrections.
I also adjust my exposure, saturation, contrast, and clarity to create vibrant and clear photos.
Know when to outsource
Don’t have a DSLR or don’t have time to photograph a house AND edit the images? Outsource to a competent real estate photographer! Katie Smith Photography offers competitive rates for photographing houses in the Alamance and Orange County area. We offer a 48 hour turn around time for you to get your photos online and sold/rented quickly.
Need a great headshot for your realtor or property management website or business cards? Katie Smith Photography offers professional headshots on location or in studio. Check out our headshot page to learn more.